
Open Modules → Module Manager → Product Stickers by appiapp → Configure. Everything happens on this single page: the creation form, the sticker list and the settings.

1. Choose what the sticker applies to
The “Apply to” dropdown selects the targeting rule — from a single product to dynamic rules like “products on sale” or “low stock”. Start simple: pick All products. (See Targeting Rules for the full list.)
2. Choose the sticker type
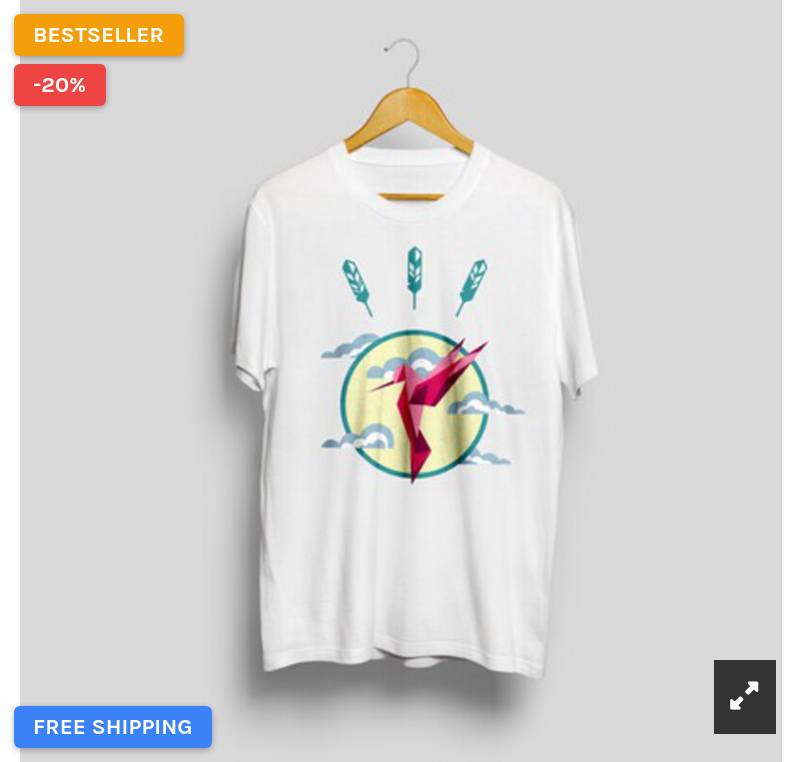
- Badge — a colored label with your text. The fastest way to get a professional result: write the text, pick background/text colors, done.
- Text, Image, HTML, Discount badge — see Sticker Types.
3. Write the content — per language
For text-based types, a tab appears for every language installed in your shop. Fill in at least one language; languages without content simply don’t show the sticker.
4. Position it
Pick one of the 9 positions on the product image (corners, edge centers, center) or “Stacked with the theme flags” to blend the sticker into the native “-20% / New” list. Details in Positions, Stacking & Offsets.
5. Save and check the front office
Click Add Sticker. The sticker is immediately visible on every matching product — product page and listings. The module clears the relevant PrestaShop caches for you.
Managing existing stickers
The All Stickers table lists everything with rule, target, type, schedule and status at a glance. From here you can edit, enable/disable (toggle), delete a single sticker or delete all.

While editing, a banner reminds you which sticker you’re working on — use the New sticker button to switch back to creation mode.